
글 작성 목차는 아래와 같습니다.
- Kotlin Project에 Querydsl-JPA 설정
- Kotlin스럽게 작성하기
Kotlin Project Querydsl-JPA 설정
먼저 Spring Initializer를 이용하여 Kotlin 프로젝트를 생성해보자!
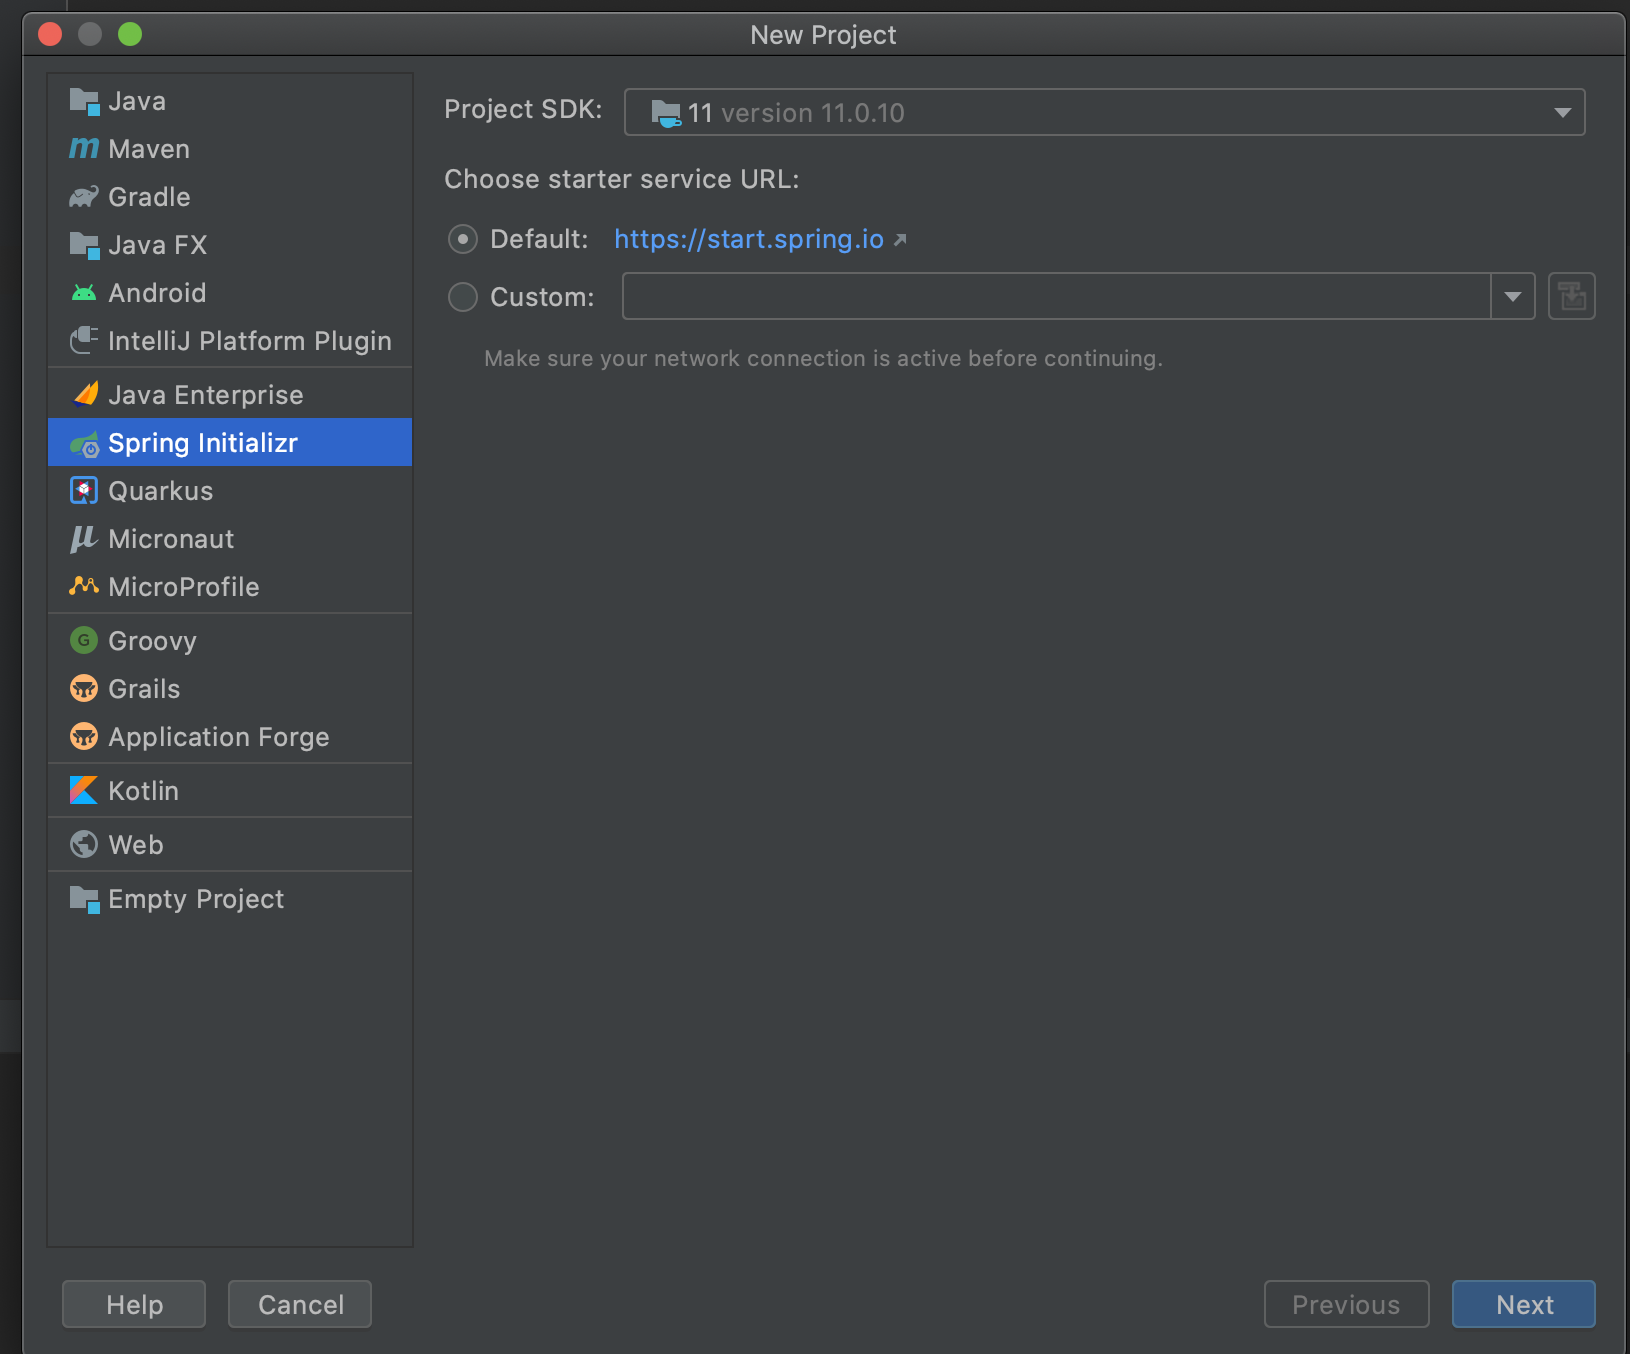

- Build Script : Gradle
- Language : Kotlin
- Packaging : Jar

- Spring Web : Web Project를 위한 디펜던시 ( @RestController, @Service ... )
- Spring Data JPA : JPA를 설정을 위한 디펜던시 ( Entity, Repository )
- H2 Database : Entity기반으로 테이블을 생성할 메모리형 데이터베이스
코틀린 프로젝트를 만들고 build.gradle.kt 파일에 추가적으로 필요한 디펜던시를 추가하겠습니다.
코틀린 프로젝트를 만들면 build.gradle 파일이 코틀린 파일이 되어 기본적으로 코틀린 문법을 사용할 수 있게 됩니다.
plugins {
    id("org.springframework.boot") version "2.4.5"
    id("io.spring.dependency-management") version "1.0.11.RELEASE"

    val kotlinVersion = "1.4.32"

    kotlin("jvm") version kotlinVersion
    kotlin("kapt") version kotlinVersion
    kotlin("plugin.spring") version kotlinVersion
    kotlin("plugin.jpa") version kotlinVersion
    kotlin("plugin.allopen") version kotlinVersion
}
kapt
kapt란? kapt annotation processing for kotlin 은 코틀린이 자바의 어노테이션을 처리할 때 kotlin 파일의 어노테이션 처리를 포함합니다. JVM을 기동시킬 때 Kotlin의 어노테이션을 포함시키이 위해 사용되는 플러그인입니다.
plugin.jpa, plugin.allopen
3개의 plugin은 JPA를 사용할 수 있게 도와주는 플러그인입니다.
한 단계씩 추가해보면서 바이트 코드를 살펴보겠습니다.
@Entity
class Sample(
    @Id
    val id: Int
)
먼저 정말 간단한 샘플 Entity를 생성합니다. 그리고 ByteCode로 변환하면 아래와 같습니다.
public final class Sample {
   @Id
   private final int id;

   public final int getId() {
      return this.id;
   }

   public Sample(int id) {
      this.id = id;
   }
}
일단 위 Entity는 에러가 발생하는 상태입니다. Entity는 반드시 no-arg 생성자가 필요하다는 메시지가 보입니다.

plugin.jpa를 추가해보고 다시 바이트코드를 살펴보겠습니다.
public final class Sample {
   @Id
   private final int id;

   public final int getId() {
      return this.id;
   }

   public Sample(int id) {
      this.id = id;
   }

   public Sample() {  // no-arg contructor
   }
}
no argument 생성자가 생성된 것을 확인할 수 있습니다. 여기까지만 해도 intellij에서는 에러를 발생시키지 않네요. 하지만 class가 final로 선언된 것을 확인할 수 있습니다. 먼저 final일 경우 JPA에서 Lazy로딩이 정상적으로 작동하지 않습니다. Lazy 로딩 작동하려면 Entity 클래스의 프록시 객체를 생성하고 상속받아 처리하는데 final이다보니 불가하여 정상 작동하지 않습니다. 코틀린은 class는 기본적으로 final입니다. 그렇기 때문에 모든 Entity에 open을 붙혀줘야하는데 이 동작을 편하게 도와주는 플러그인이 plugin.allopen 입니다.
dependencies {
    // ...
    implementation("com.querydsl:querydsl-jpa") // 1)

    kapt(group = "com.querydsl", name = "querydsl-apt", classifier = "jpa") // 2)

    // 3)
    sourceSets.main {
        withConvention(org.jetbrains.kotlin.gradle.plugin.KotlinSourceSet::class) {
            kotlin.srcDir("$buildDir/generated/source/kapt/main")
        }
    }

    // ...
}
1) Querydsl-jpa 디펜던시 주입
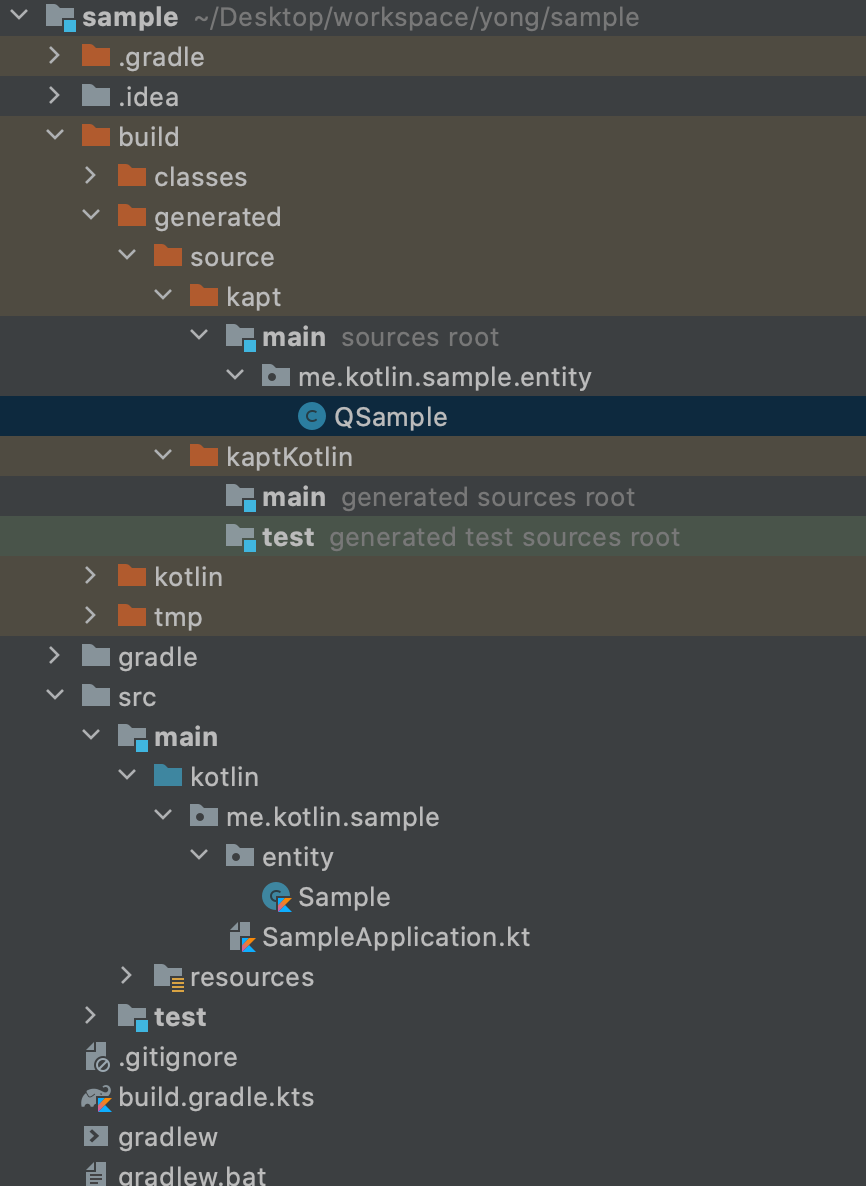
2) Entity가 선언되있는 클래스를 QClass로 생성 - default로 build 폴더 하위에 생성
3) build 폴더 하위에 생성된 QClass를 프로젝트 내부에서 Import할 수 있도록 도와주는 설정
Configuration 작성
@Configuration
class QuerydslConfig (@PersistenceContext val entityManager: EntityManager) {
    @Bean
    fun jpqQueryFactory() = JPAQueryFactory(entityManager)
}
JPA의 중요한 개념인 영속성을 사용하는 entityManager를 통해 JPAQueryFactory를 생성합니다. JPAQueryFactory로 Querydsl의 Query를 작성할 수 있습니다. 생성한 JPAQueryFactory를 Bean에 올려놓는 Configuration입니다.
QClass 생성하기
간단한 Entity 클래스를 생성합니다.
/**
 * Created by LYT to 2021/04/26
 */
@Entity
class Sample(
    @Id
    val id: Int
)
build 혹은 complieKotlin 명령어를 실행합니다.

여기까지하면 설정은 마무리되었습니다. 이제부터 코틀린스럽게 Querydsl-JPA를 사용해보자!
Kotlin스럽게 사용하기
Dirty-checking을 이용한 수정
Dirty-checking이란?
Transaction 단위에서 영속성이 유지되고 있는 객체에 변화가 감지되고 Transaction이 종료되면 수정작업을 진행합니다.
/**
 * Created by LYT to 2021/04/26
 */
@RestController
@RequestMapping("/samples")
class SampleController(
    val sampleService: SampleService
) {

    @PutMapping
    fun updateSample(@RequestBody request: SampleDTO) =
       sampleService.updateSample(request)

}
Controller의 자세한 설명은 생략하겠습니다.
/**
 * Created by LYT to 2021/04/26
 */
@Service
class SampleService(
    val sampleRepository: SampleRepository
) {
    @Transactional
    fun updateSample(request: SampleDTO) {
        sampleRepository.findByIdOrNull(request.id)?.apply {
            this.changeFields(    // 원하는 필드의 데이터만 파라미터로 넘긴다
                address = request.address,
                etc = request.etc
            )
        }
     }
}
Service에서 Method에 Transactional을 선언합니다. 그리고 영속성을 만들기 위해 Repository에서 Entity 객체를 조회합니다. 그리고 객체 null 체크를 safety 연산자(?.) 이용하여 쉽게 작성합니다.
apply 메서드 : kotlin에서 지원하는 메서드로 자기 자신의 값을 쉽게 변경하도록 도와주는 메서드
safety 연산자 : ?. 작성하면 null이 아니면 뒤에 코드를 실행하고 null이면 null을 반환
/**
 * Created by LYT to 2021/04/26
 */
@Entity
@DynamicUpdate @DynamicInsert
class Sample(
    @Id
    val id: Int,
    var name: String? = null,
    var address: String? = null,
    var etc: String? = null
) {
    fun changeFields(
        name: String? = null,
        address: String? = null,
        etc: String? = null
    ) {
        name?.let { this.name = it }
        address?.let { this.address = it }
        etc?.let { this.etc = it }
    }
}
chaneFields 메소드는 코틀린의 특징인 파라미터 변수를 지정하여 변수 할당하는 기능을 사용하고 파라미터 변수에 기본값을 설정합니다. 자바의 경우로는 모든 필드를 다 받고 사용하지 않는 필드는 null로 세팅하는 불편함이 있습니다. 하지만 코틀린에서는 위 코드처럼 간결하게 작성할 수 있습니다.
?.let {} : 왼쪽 데이터가 null이 아닌경우에만 블록 내 코드를 실행. it은 자기 자신이다.
아래 코드는 코틀린에서 작성한 코드를 비교를 위해 그대로 작성한 것입니다.
/**
 * Created by LYT to 2021/04/26
 */
@Service
public class SampleService {

    private SampleRepository sampleRepository;

    public SampleService(SampleRepository sampleRepository) {
        this.sampleRepository = sampleRepository;
    }

    @Transactional
    void updateSample(SampleDTO sampleDTO) {
        sampleRepository.findById(sampleDTO.getId()).ifPresent(sample -> {
            sample.changeFields(null, sampleDTO.getName(), null, sampleDTO.getEtc());  // null 주입
        });
    }
}
@Entity
@DynamicInsert
@DynamicUpdate
public class Sample {
@Id
private Integer id;
private String name;
private String address;
private String etc;
public Integer getId() {
return id;
}
public String getName() {
return name;
}
public String getAddress() {
return address;
}
public String getEtc() {
return etc;
}
void changeFields(Integer id, String name, String address, String etc) {
this.id = id;
this.name = name;
this.address = address;
this.etc = etc;
}
}
'Develop > kotlin' 카테고리의 다른 글
| Kotlin (꿀)Tips! (0) | 2022.04.18 |
|---|---|
| [Kotlin] Application 설정값 가져오는 방법 - ConfigurationProperties로 구성 (1) | 2021.05.17 |